


Learning how to stretch canvas is a part of every budding artist’s journey. Not only does it allow for greater control over your work surface, but it also brings a personal touch to every piece you create. Whether you’re preparing for a painting or simply want to display a canvas print, stretching canvas is an invaluable skill.
In this guide, we’ll walk you through the step-by-step process of canvas stretching, ensuring your artwork gets the perfect foundation it deserves.
Step 1: Gather your materials
Firstly, gather all the necessary materials. You’ll need the following:
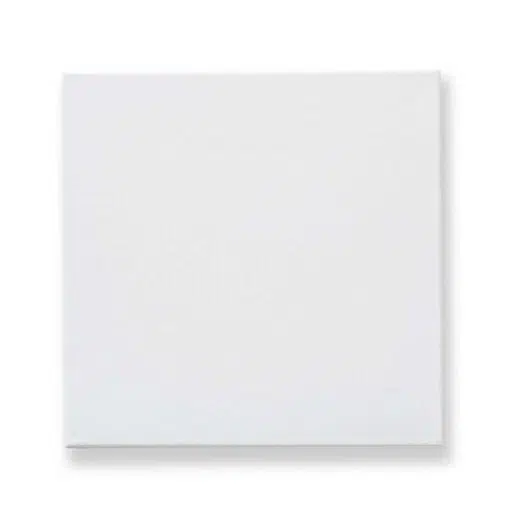
- Pre-cut canvas
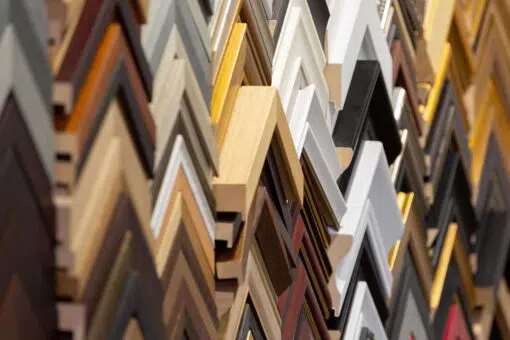
- Stretcher bars
- Canvas pliers
- A staple gun and staples
- A hammer
Additionally, you should make sure your workspace is clean and spacious enough to accommodate the size of your canvas. For precision when aligning the stretcher bars and stapling, you may want to use a tape measure or ruler.
Step 2: Assemble your stretcher frame
Begin by assembling your stretcher frame. Lay out the stretcher bars on your workspace and fit the corners together by sliding the mitred ends into each other, forming a rectangle or square frame.
Make sure the corners are aligned and the frame is equilateral — you can measure diagonally across the frame from corner to corner to certify the frame is perfectly square. Use a hammer if needed to secure the joints, testing your frame for any wobbling.
Step 3: Lay your canvas
Place the canvas material over the frame, leaving an adequate margin of around three to four inches around the edges — this gives you an established grip for the next steps. The canvas should be facing down with the frame centred on top of it. Ensure the canvas is smooth and wrinkle-free by lightly ironing from the middle towards the edges.
If you’re working with a primed canvas, the primed side should be facing downwards.
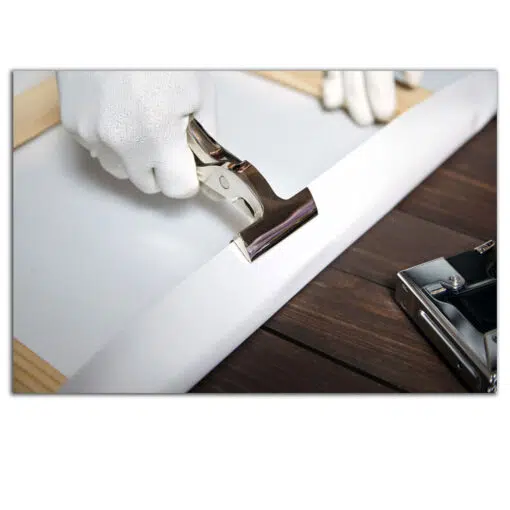
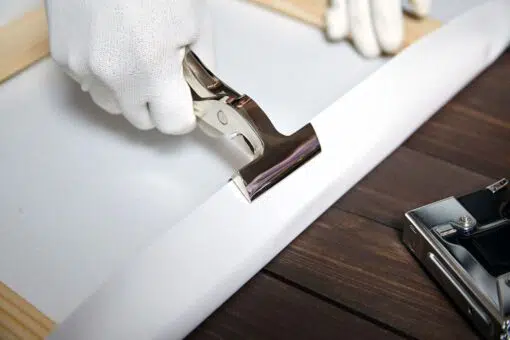
Step 4: Staple the canvas to the frame
Start by stapling the middle of one side of the canvas to the frame. Move to the opposite side, gently pulling the canvas with your canvas pliers for even tension, and staple the middle. Repeat this process for the remaining two sides. This alternating method helps maintain even tension across the canvas. Confirm your canvas is taut but not overly stretched to avoid warping the frame.
Step 5: Work your way to the corners
Continue stapling from the centre out towards the corners, leaving about a two-inch gap at each corner unstapled. Alternate between opposite sides to keep the tension even. The canvas should be snug against the frame without any sagging.
Step 6: Secure the corners
Fold the corners neatly, similar to wrapping a gift. Start by pinching the canvas at the corner and folding it down along one side, then folding the other side to form a triangle. The goal is to create a neat, flat corner without excess bulk. Once folded, fasten the corners with staples. Make sure the folds are tight and flat against the frame.
Step 7: Final adjustments
Inspect your canvas with your fingers, making sure there’s enough surface tension for your painting needs. If any adjustments are needed, you can gently tap the corners with a hammer or adjust the tension by re-stapling any loose sides.
At this stage, you may prime your canvas if it isn’t pre-primed. Apply the gesso in even, longitudinal strokes for a smooth finish. Keep in mind that multiple thin coats are better than one thick coat.
Don’t have time to learn how to stretch a canvas?
While canvas stretching is a valuable skill to learn, Fantastic Framing understands that you won’t always have the time to do it yourself. Don’t waste materials — save your time and effort by buying our pre-stretched canvas in a sleek floating frame instead. Feel free to contact our team for any inquiries — we’re more than happy to help.